


How to Plan a Wardrobe Interior Around Your Storage Needs
Plan hanging space, shelves, drawers and wardrobe accessories around actual users and room dimensions before approving a fitted-storage layout.
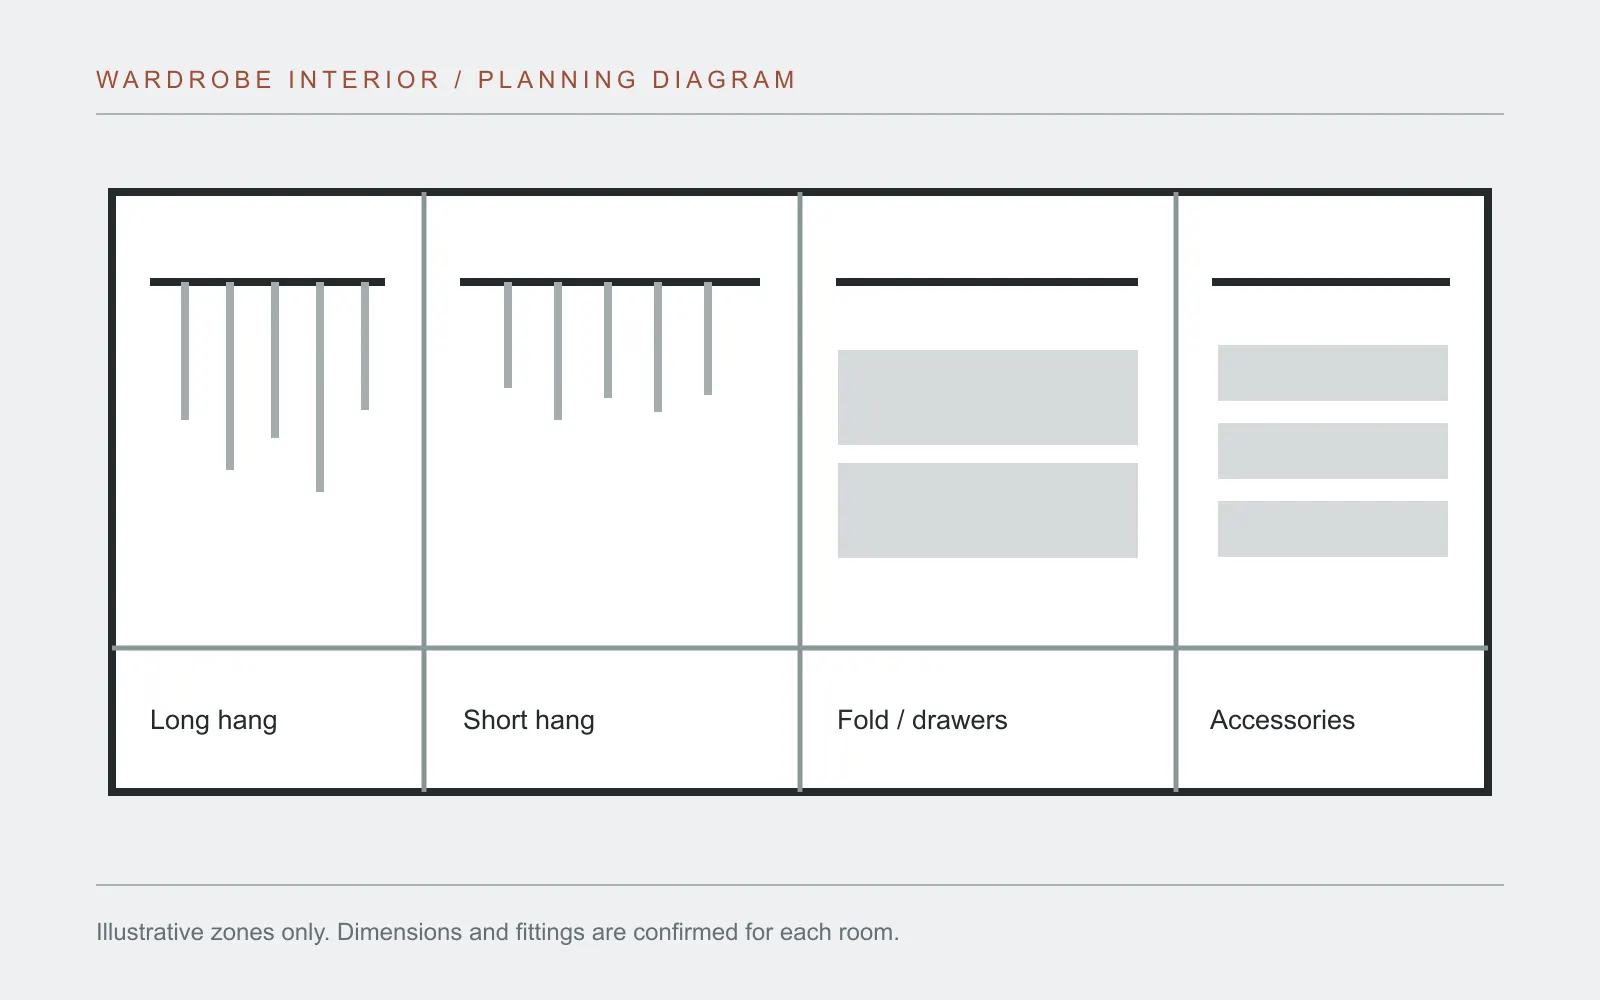
Start with what needs to be stored, then divide the available wall space. A fitted wardrobe does not need every possible accessory. It needs the right balance of hanging, folded storage, drawers and less frequently used space for its actual users.
Choose the footprint before dividing the interior
A straight run can work along one wall. An L-shaped arrangement uses two adjoining walls, while a U-shaped layout needs enough space to access storage on three sides. Choose the footprint from measured walls and usable circulation, not from the room label alone. Mark doors, windows and corners on the plan, then check whether every drawer and wardrobe door can open without blocking another unit.
Take stock before drawing the compartments
List the occupants and the types of clothing and other items they need to store. Count long garments separately from shirts or jackets. Note folded knitwear, shoes, bags, luggage and items that belong elsewhere in the home. If several bedrooms share one storage strategy, record the needs of each room rather than copying a single internal layout.
Measure the room and mark doors, windows, skirting, sockets, ceiling changes and circulation space. An approximate wardrobe height from a training example is not a universal maximum; the approved dimensions come from the site and the selected construction.
Allocate zones by use
| Zone | Use it for | Check before approval |
|---|---|---|
| Long hanging | Coats, dresses and other full-length garments | Garment length, rail position and clear space beneath |
| Short hanging | Shirts, jackets and folded trousers on hangers | Whether one or two levels are useful for the actual wardrobe height |
| Shelves and drawers | Folded clothing, small items and everyday accessories | Reach, drawer opening and visibility of contents |
| High or low storage | Luggage, seasonal items and less frequent use | Safe access and the weight of the intended contents |
| Display or specialist fittings | Shoes, bags, jewellery or illuminated display | Internal width, depth, power and hardware compatibility |
The zones in the diagram are a planning aid, not a fixed module set or scale drawing. A narrow unit may need only hanging and shelves; a walk-in room can distribute the tasks across several cabinets.
Choose doors and fittings with the layout
Hinged, sliding, open and glazed fronts change access to the interior. Check the clear opening and the space needed to use drawers or pull-out fittings. Wardrobe accessories should be selected after the internal dimensions and door movement are known.
Door height, weight and opening method affect hinge and fitting selection. A hinge-count sketch from training material cannot be applied to every door: confirm the actual hardware model and the manufacturer’s fitting requirements for the proposed front.
Compare like-for-like quotations
Ask the supplier to identify the cabinet box, back, fronts, shelves, drawers, rails and accessories separately. Record the finish and edge treatment for each visible component. A training example calculated cabinet area, door area and hardware as different items; it was an illustration of quotation structure, not a current price list or a price rule for every project.
For material choices, use the cabinet component guide and wardrobe door and finish references. Send room dimensions, a rough item inventory and any preferred wardrobe designs with your project enquiry. Samples can be supplied free of charge; the buyer pays shipping.
Common planning questions
Does every wardrobe need five zones?
No. The zones are options. Their number and proportions depend on the users, clothing and room.
Can the outside stay coordinated while the inside changes?
Yes. Different rooms can use different internal layouts while sharing an approved door and finish direction. Record the room-by-room differences in the drawings.