


Fitted Joinery Details: Lighting, Fronts and Panel Junctions
Use installed SNEJ interiors to review cabinet lighting, glazed display storage, fluted panels and appliance openings before approving your joinery drawings.
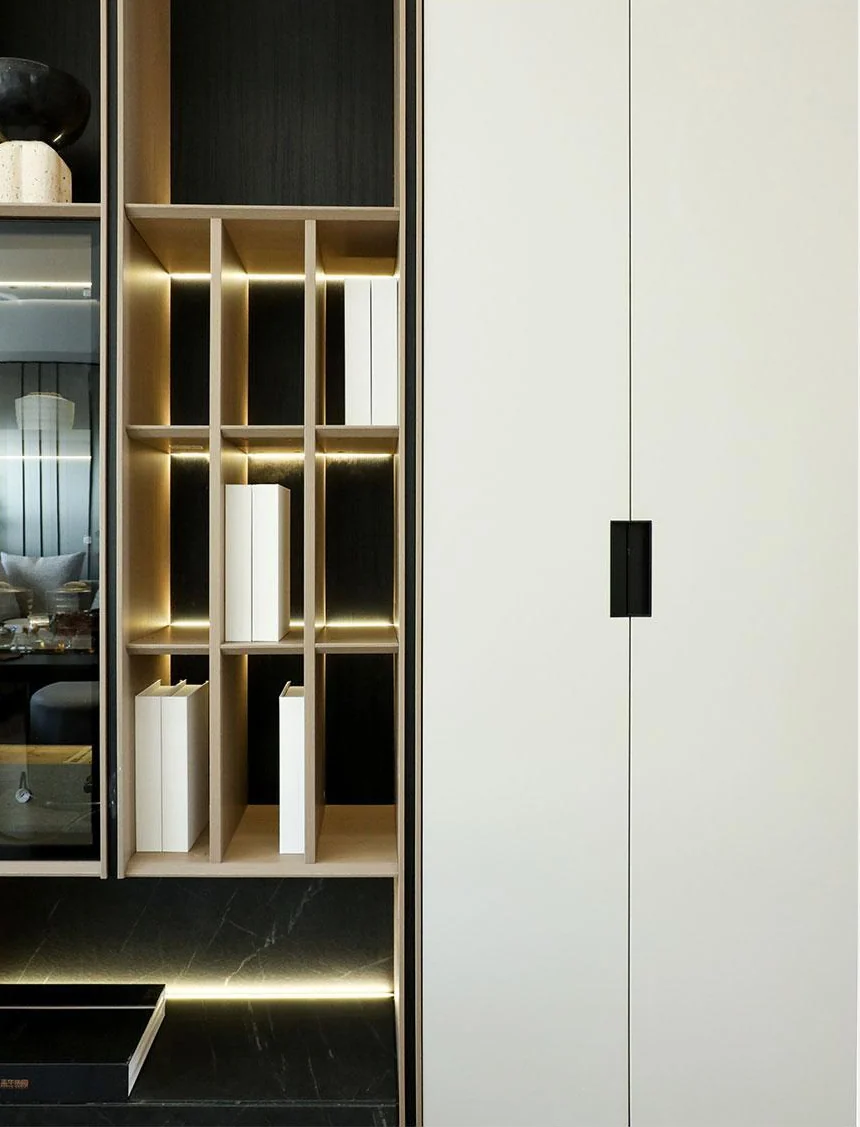
A useful joinery reference shows more than a colour. It shows where the cabinet opens, how lighting sits within the shelving and how panels meet at an edge. Mark those details separately when preparing your brief so each one can be reviewed on the drawings.
The photographs here come from SNEJ’s installed-project brochure. The companion installed interior collection shows wider room views. Use these close views to identify what you want to discuss; they do not establish a standard material, dimension or performance specification for every product.
Separate display lighting from storage layout
The glazed cabinet above combines illuminated display shelves with closed storage beside it. The contrast makes the display area easy to read without applying the same treatment to the whole elevation.
Record which shelves need lighting, what should remain behind a closed front and where the lighting should stop. Ask for the proposed light position, cable route, power supply and access for maintenance to be identified before approval. The choice of switch or sensor also belongs in that review rather than being inferred from a photograph.
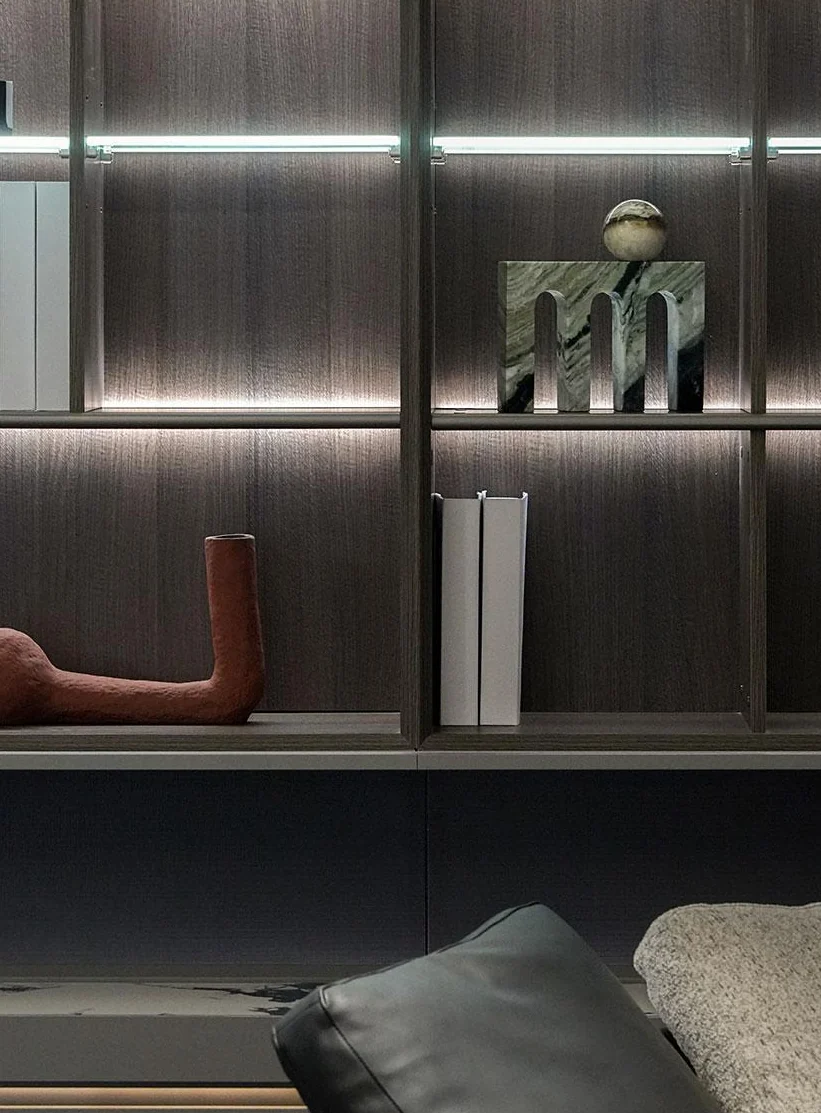
The core-advantages brochure lists manual switching, motion sensing, door-activated switching and remote control as examples for cabinet lighting. Select the operation that suits the cabinet’s use and confirm the actual fittings and electrical requirements for the project destination with the responsible team. A photograph of an illuminated shelf does not identify its switching system.
Show the transition between flat and fluted panels
Flat panels and vertical fluting can sit beside each other without using identical widths. In this installed room, the change in texture defines part of the wall above the sofa while a dark lower band connects the composition.
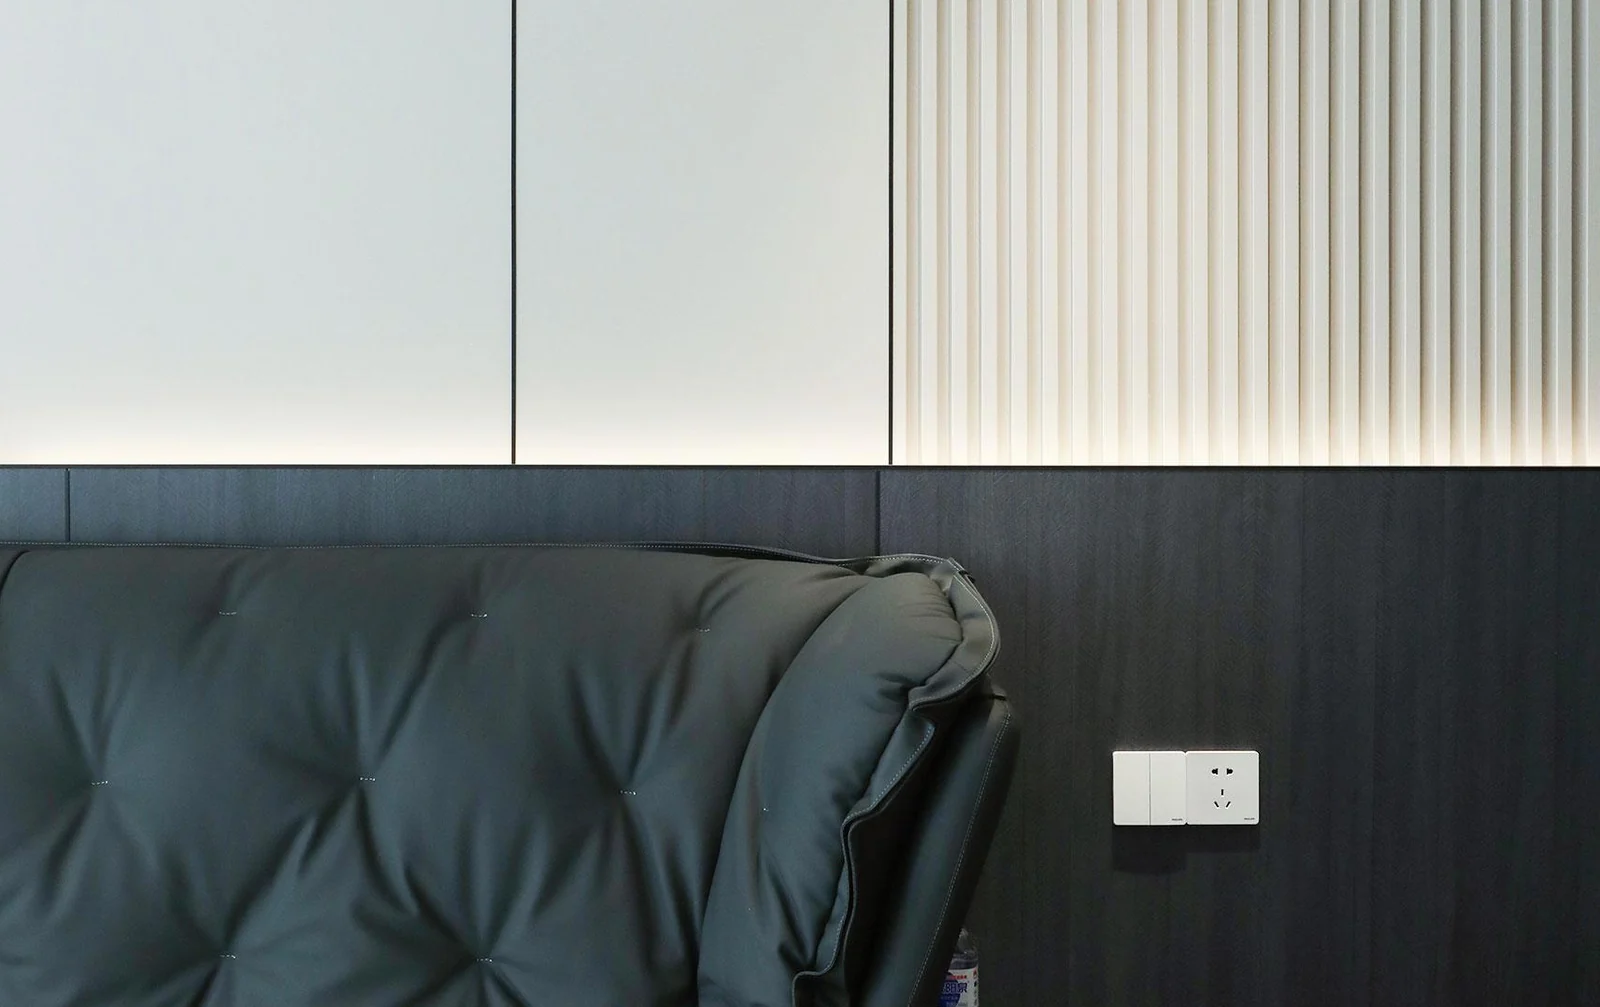
Mark where each finish begins and ends. Include the edge at a wall return, the junction with a door frame and the alignment with adjacent cabinets. A request for “fluted panels” alone leaves the spacing, depth, direction and end treatment unresolved.
The source brochure includes dimensioned examples of fluted and tall-panel construction. These are specific examples, not universal size limits. Ask for the proposed dimensions and construction for your own elevation instead of applying a brochure measurement to every room.
Give appliances their own openings
Built-in equipment changes the cabinet layout. The image below shows stacked appliances alongside dark patterned panels; the visible lines are only one part of the coordination required.
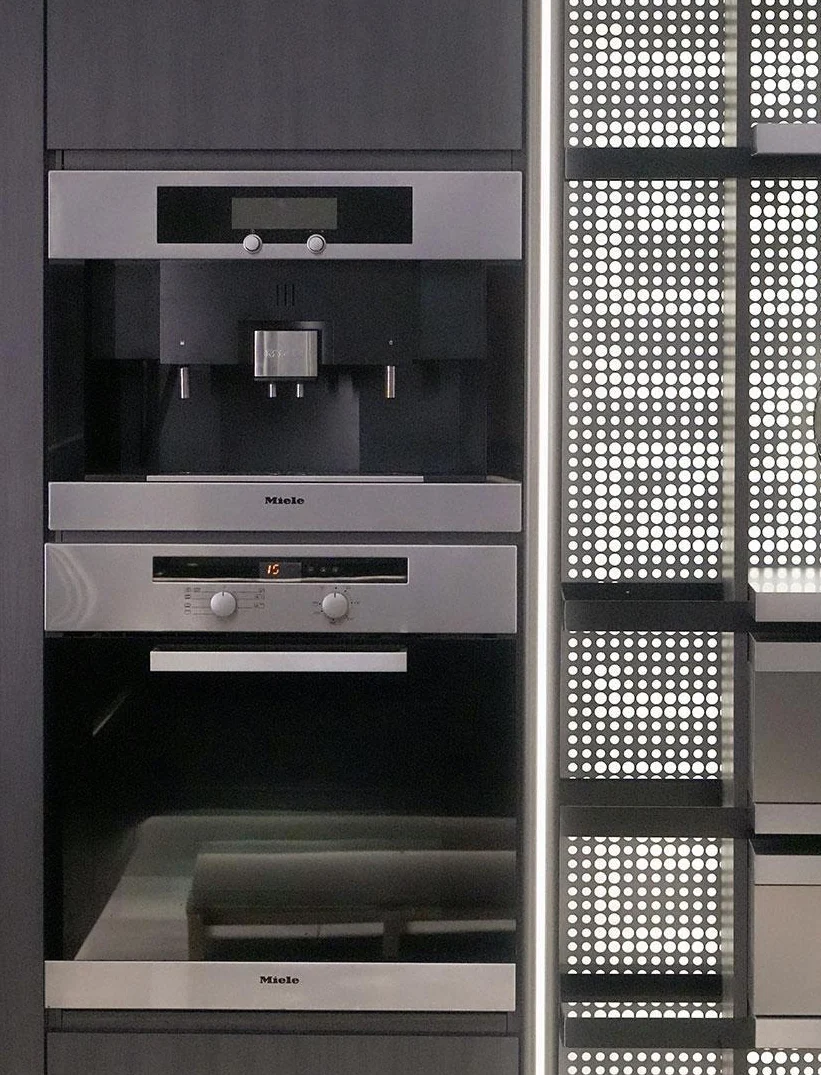
Supply the appliance model and its installation information. Ask the drawing to identify the required opening, access and any specified service or ventilation space. Do not use the apparent dimensions of a photograph as an installation instruction.
For the wider cabinet layout, see the kitchen cabinetry collection. For materials and samples, use the cabinet door finish guide.
Specify the edge, handle and shelf construction
The core-advantages brochure also shows recessed handles, mitred edges, curved profiles, wall-mounted elements and cold-pressed layered shelves. These details need their own drawing references; they are not interchangeable names for a finish.
For a recessed pull, identify its position and how the front opens. For a curved or mitred junction, show the intended profile and where the adjacent surfaces meet. For a wall-mounted shelf or desk, confirm the support arrangement and intended use with the project team rather than assuming a load capacity from its appearance.
One annotated study example in the brochure records the following details:
| Brochure annotation | Scope of the reference |
|---|---|
| 3 mm metal profile | The metal detail identified in that study construction, not the thickness of every shelf |
| 9 mm fluted detail | The labelled fluted construction in that example; confirm the required profile in the drawing |
| 2700 mm tall panels | The height cited for the illustrated tall-panel construction, not a universal maximum or standard size |
| 45° mitre | An angle at the identified junction, not a panel thickness |
Use these annotations to make a specific enquiry. The final dimensions, materials, support and fittings must be agreed for the selected construction.
Balance open areas and closed fronts
The design examples use projecting and recessed elements, open display areas, overlapping lines and quieter blank surfaces to vary the elevation. In practical terms, decide which possessions should be visible, which should be concealed and where a clear surface is useful. A storage wall does not need every bay to use the same treatment.
Review those decisions in a room elevation before choosing decorative details. The installed study and dining interiors show two different balances of closed cupboards and open or glazed display storage.
Turn the selected detail into an approval record
Keep a short schedule linking each reference to a room and drawing revision:
| Selected detail | What to identify in the project review |
|---|---|
| Illuminated shelving | Shelf positions, fittings, switching, power and access |
| Glazed display fronts | Panel and frame references, opening method and hardware |
| Fluted or flat wall panels | Pattern direction, dimensions, transitions and exposed ends |
| Appliance cabinet | Equipment model, opening and installation requirements |
| Coordinated fronts | Finish sample, panel divisions and handle position |
The aim is to make the drawing specific enough to review. Confirm the selected construction, materials and fittings in the quotation and approval documents. A finish photograph cannot establish an emissions rating, warranty or tested performance.
Prepare your project brief with the references and dimensions you already have. Where the same detail carries between doors, walls and storage, include the whole-house product scope in that conversation.
Source material: SNEJ installed-project brochure, detail pages 13–18; Haikuo/Radisson core-advantages brochure, construction examples on pages 10–12. Photographs show installed work; proposed specifications remain project-specific.